Background
Like most other programming languages, C++ comes in many versions. Newer versions bring improvements as well as remove or add new features to the language. C++ has the following standard versions:
- C++98 is the first edition (1998).
- C++03 is the second edition (2003).
- C++11 is the third edition (2011).
- C++14 is the fourth edition (2014).
- C++17 is the fifth edition (2017).
Currently, C++ Standards Committee is responsible for C++ releases and has currently fixed a three-year release cycle. As of 2019, the next version (C++20) is currently under preparations.
Important: Please confirm the C++ version that will be used for your NECTA practical exams ahead of time.
C++17 added inbuilt support for filesystem operations (listing folder contents, traversing folders, moving files, etc.). For this reason, C++17 will be required to complete 2019 Projects.
Installing Visual Studio Community 2017
Visual Studio 2017 IDE has already implemented the latest C++17 with their compiler (Visual C++). We will install the free version (Community Edition) of the IDE.
Download Visual Studio Community 2017 (version 15.9) installer from: HERE

Note: (1) Any version of Visual Studio after 15.9 (e.g. Visual Studio Community 2019) will work as well.
(2) You will need to login using a Microsoft account (e.g. someone@hotmail.com, someone@outlook.com) or create a new one. If it is your first time downloading, you will receive the following message when you visit the link:
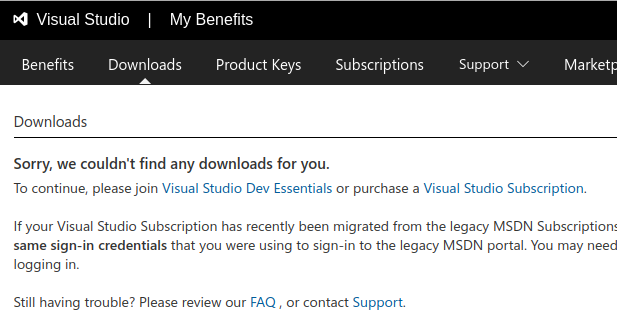
Click on “Visual Studio Dev Essentials” link to join Visual Studio Dev Essentials. From a page like the one shown below, click on the “Join Visual Studio Dev Essentials” button and then on “Confirm” to complete the joining process.

You can now re-visit the download link ( //bit.ly/2m1tiDj ) to download the Visual Studio Community 2017 (version 15.9) installer.
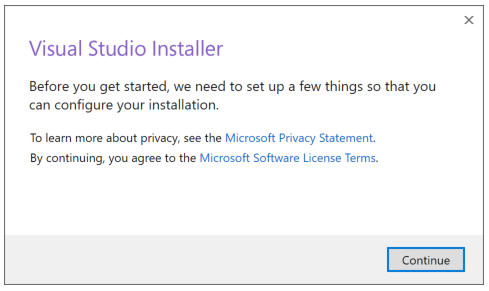
Launch the installer to get a dialogue box like one shown below.
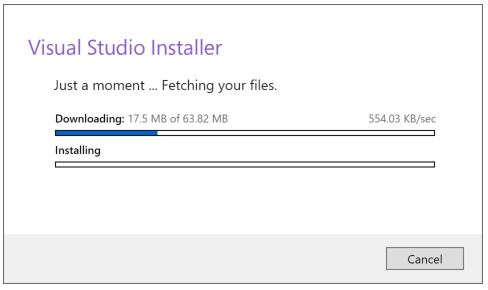
Then, the installer will fetch several files.
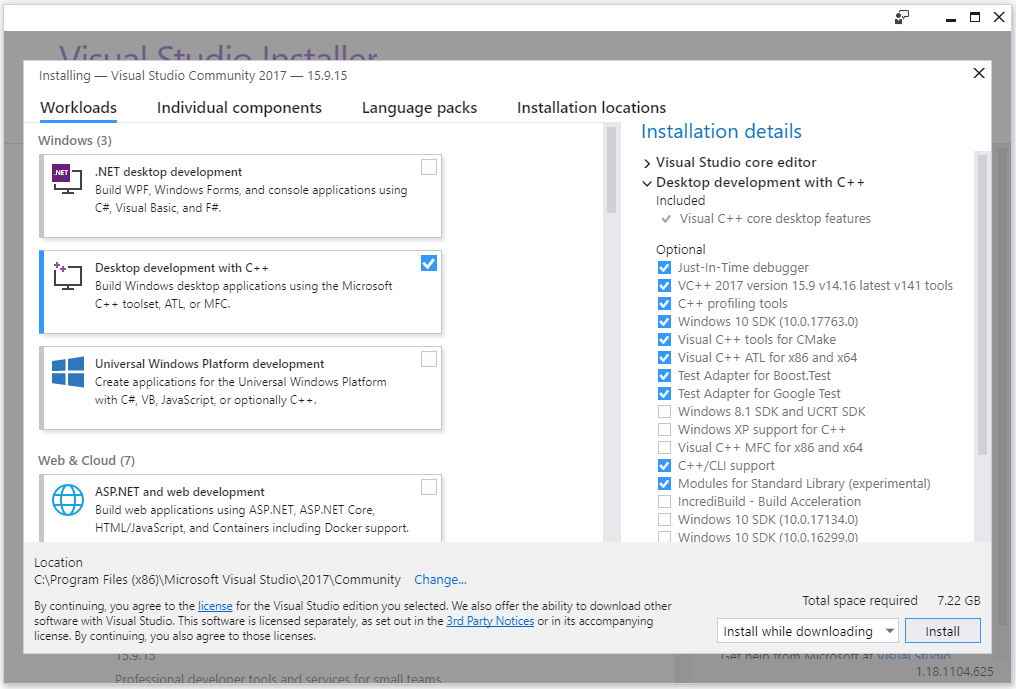
From the “Workloads” tab, select “Desktop development with C++”. On the “Installation details” section on the right, select “C++/CLI support” and “Modules for Standard Library (experimental)”.
Also, ensure that the following have been selected:
- Just-in-Time debugger
- VC++ 2017 version 15.9 vXX.XX latest vXXX tools
- C++ profiling tools
- Windows 10 SDK (10.X.XXXXX.X)
- Visual C++ tools for CMake
- Visual C++ ATL for x86 and x64
- Test Adapter for Boost.Test
- Test Adapter for Google Test
Note: You will need internet connection to complete the installation. Ensure you have enough data to download 2GB of installation files. If you have a slow internet connection, select to install after everything has been downloaded from the combo-box on the left of “Install” button.
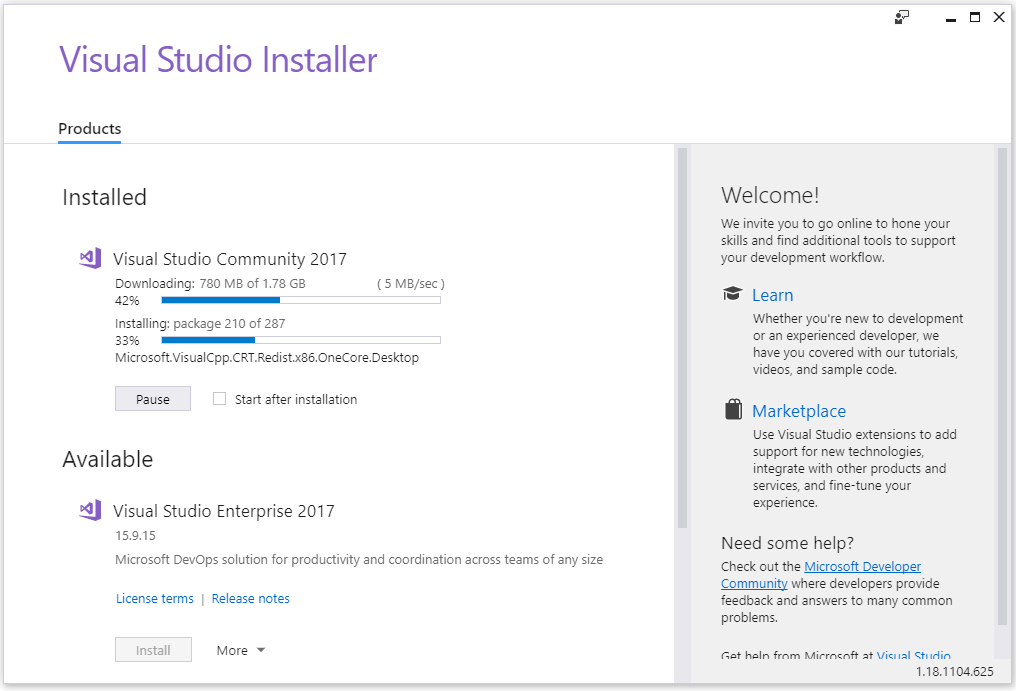
Click “Install” and installation will begin as shown below. It may take several hours on a slow internet connection to complete the rest of installation.
Restart your computer after the installation is complete and you will be ready to go.